MyAuth
This enables a user to manage their authentication.
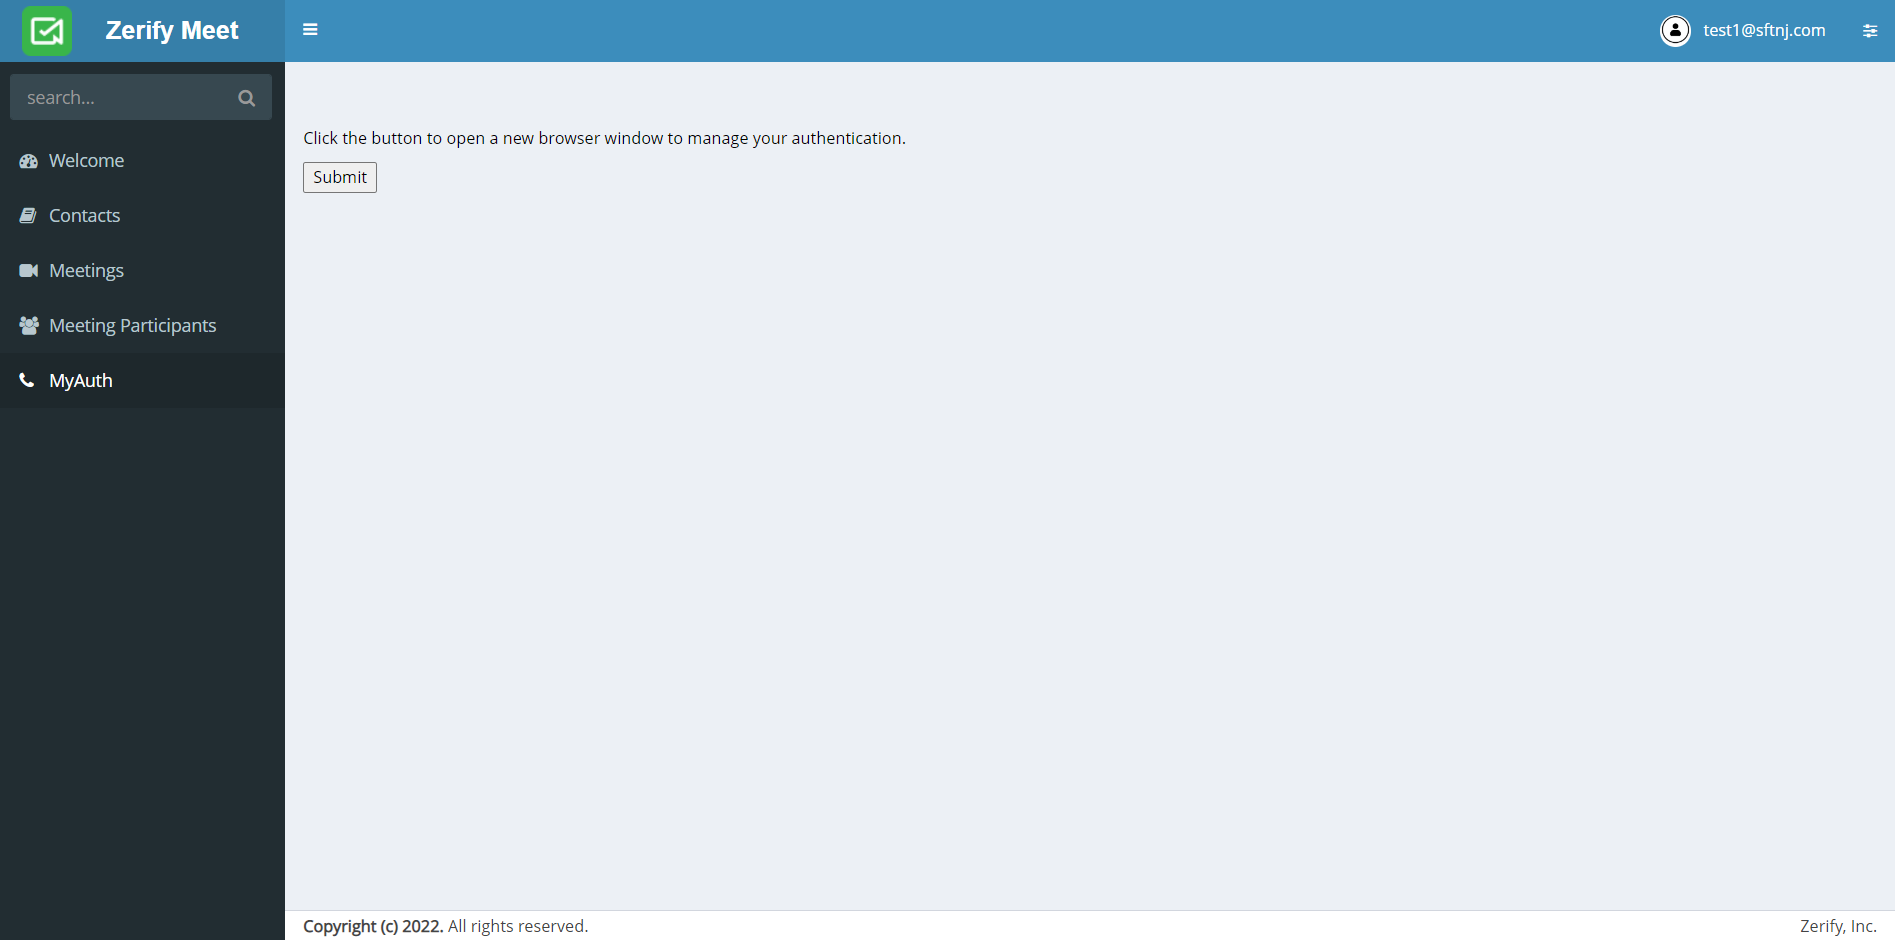
Selecting the Submit button allows the user to open a new browser window for an app to manage their authentication.
After you login to the app, you can do the following -
- Change you phone PIN
- Provision push authentication
- Provision token authentication
New User
If you are a new user, you should provision push authentication. This consists of getting a password for registration from the push dashboard (see below). You will get an email with instructions to download the ProtectID app and register your phone for push authentication.
Portal Login
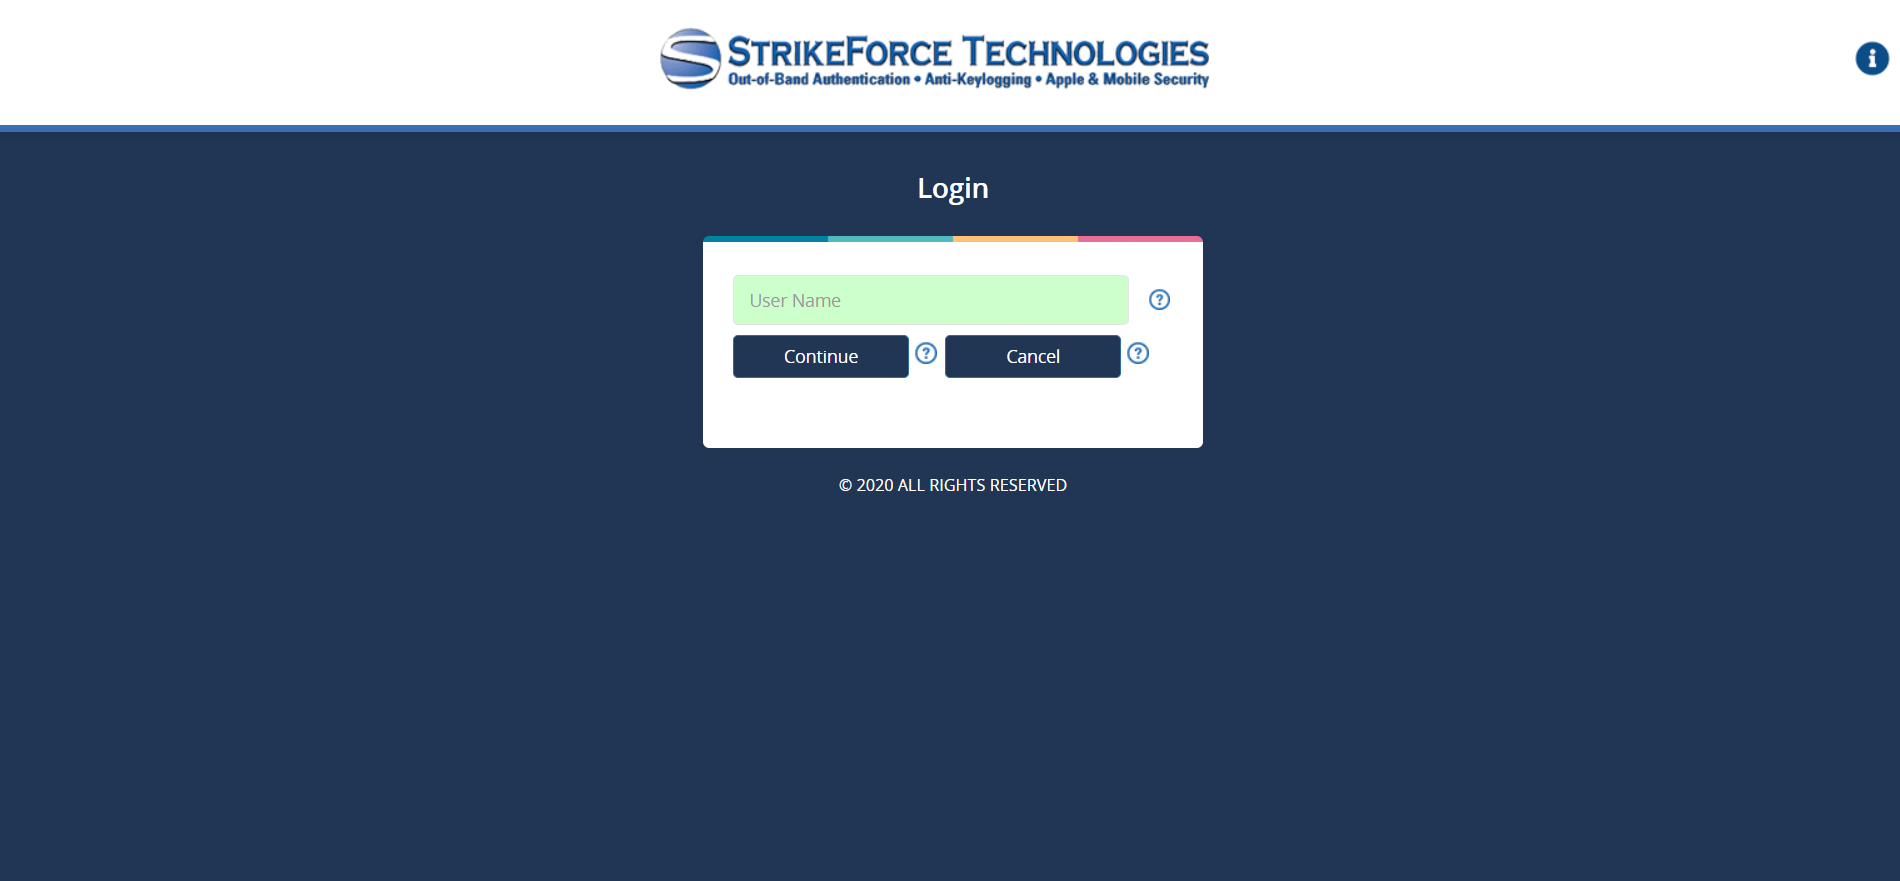
Entering the username and clicking on the Continue button brings up the following screen where the user can select the authentication type to login.
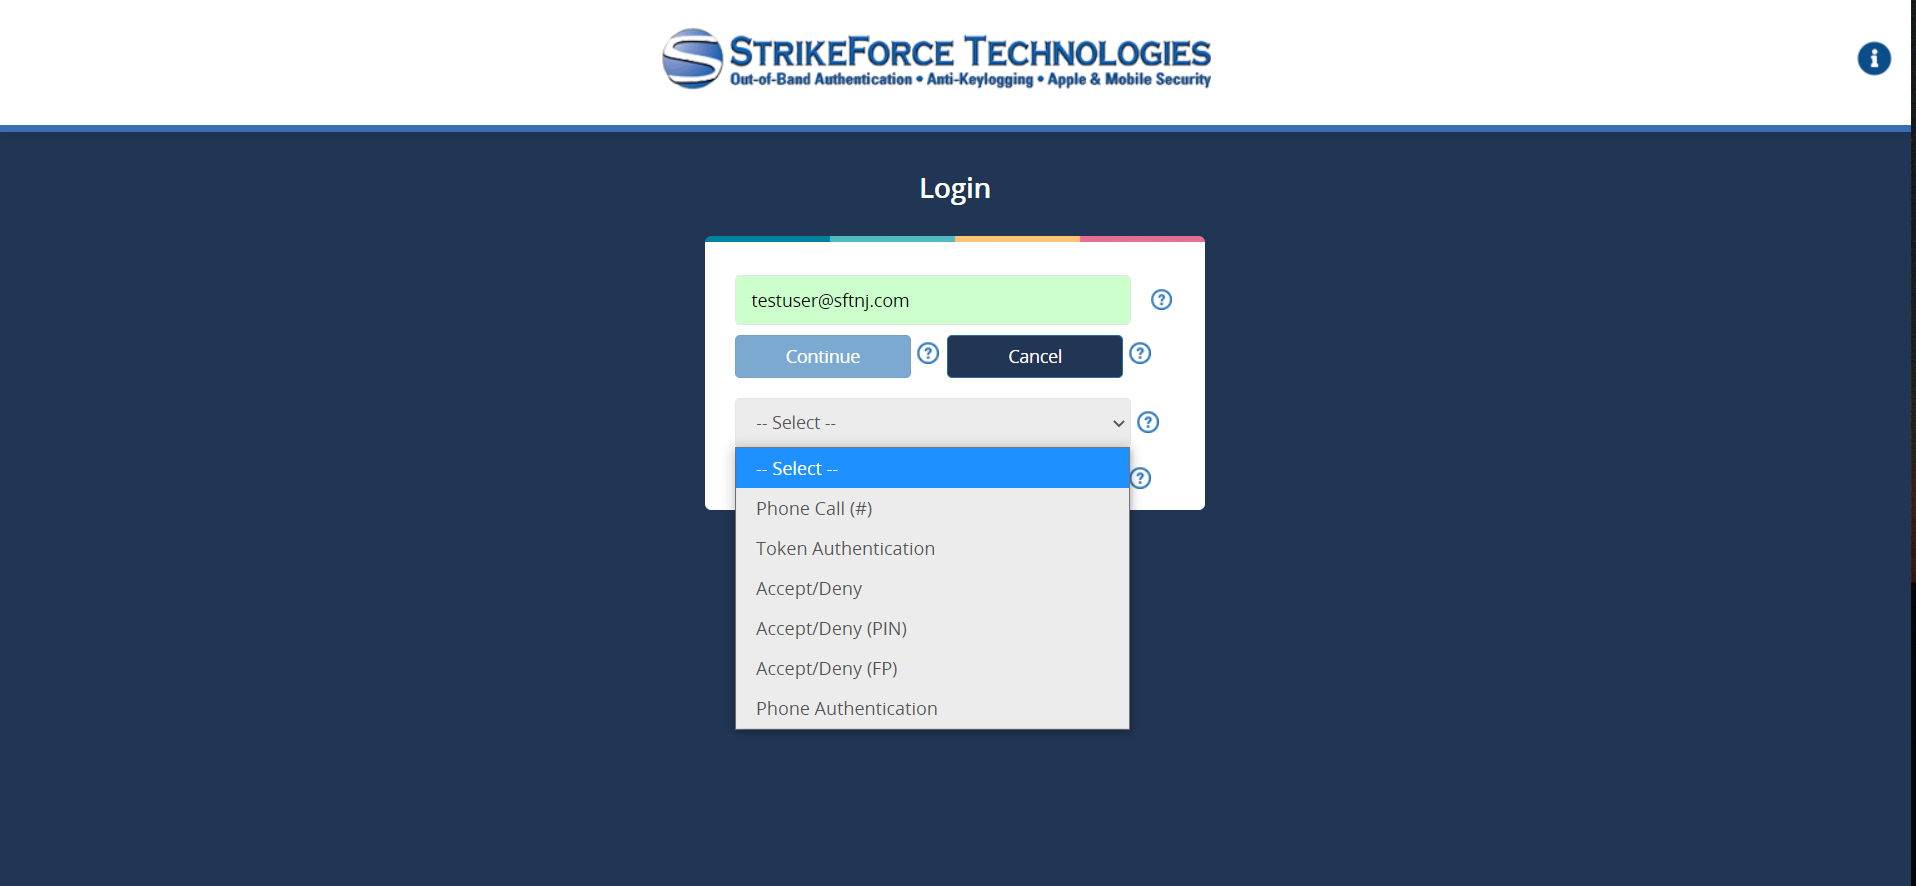
There are six selections:
- Phone Call (#) - Phone rings .. answer call .. enter #
- Token Authentication - Generate 6 digit number in the ProtectID app and enter in text box
- Accept/Deny - Screen with Accept and Deny buttons pops up in user's phone
- Accept/Deny (PIN) - Screen with PIN entry text box pops up in user's phone
- Accept/Deny (FP) - Screen with finger print authentication prompt pops up in user's phone
- Phone Authentication - Phone rings .. answer call .. enter your PIN
The first and sixth methods involve recieving a phone call and entering a # (first method) or a PIN (sixth method) into the phone. Methods 2 thru 5 require the ProtectID app on the phone.
After you are authenticated, you are taken to the Profile Screen.
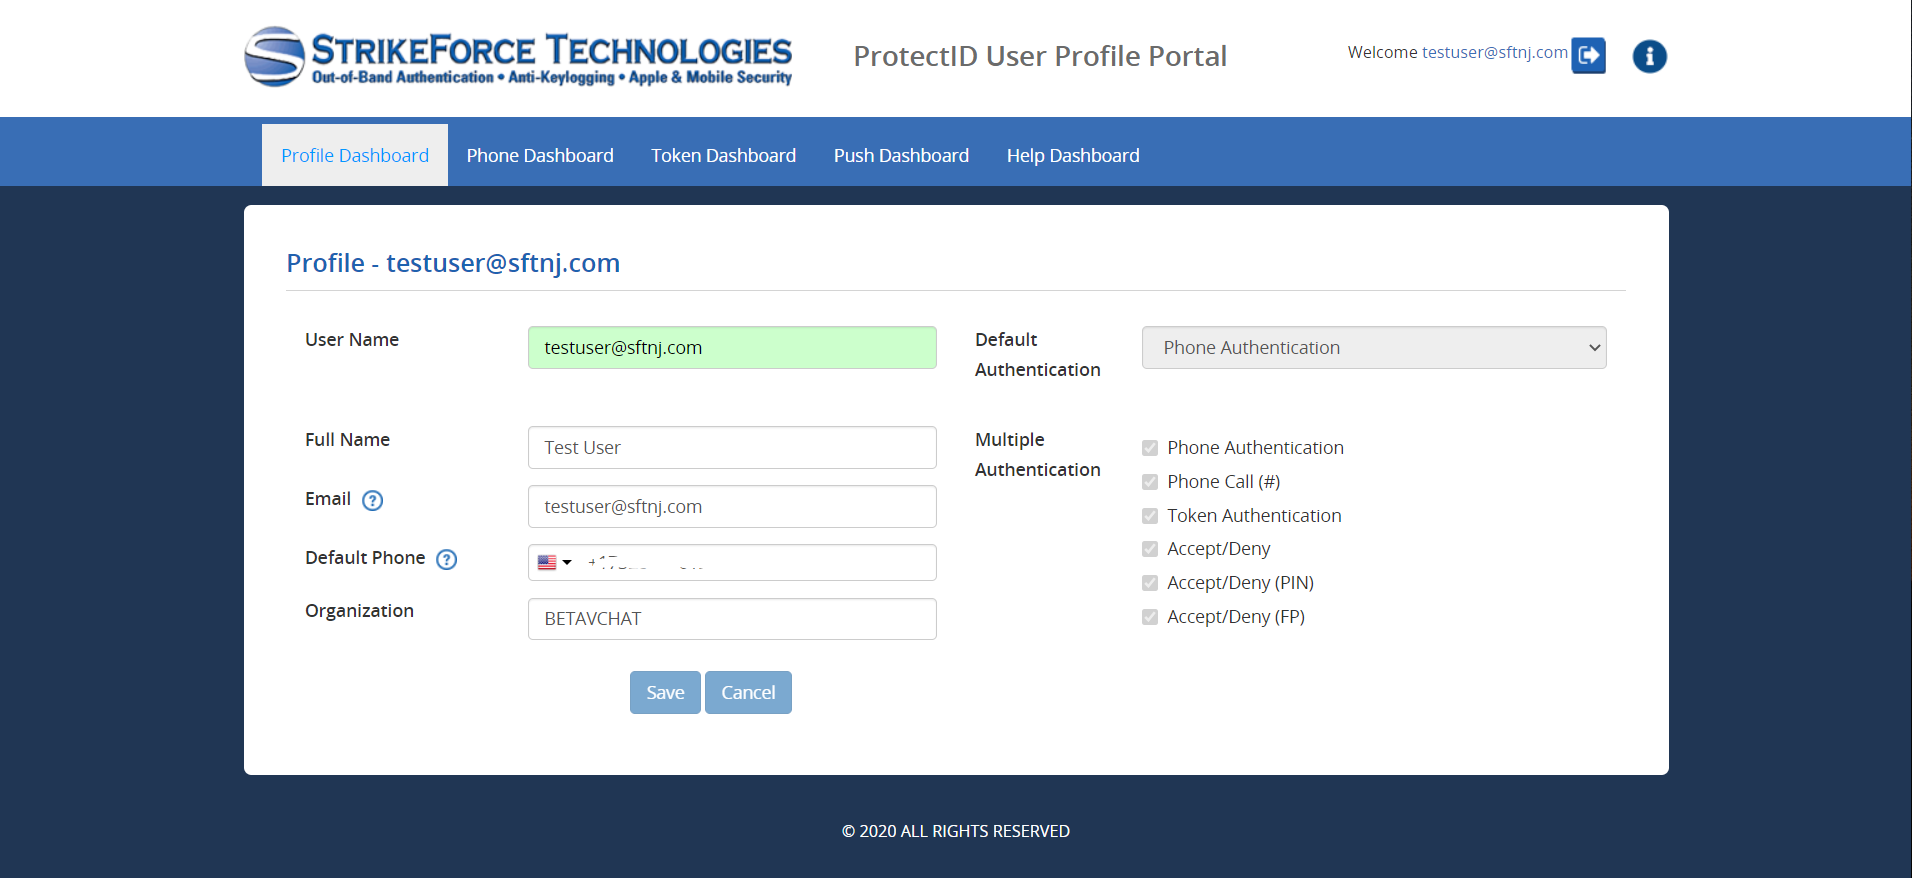
Profile Dashboard
The Profile dashboard shows your data -
- User Name
- Full Name
- Default Phone
- Organization
It also shows the default authentication and the various authentication schemes you can use.
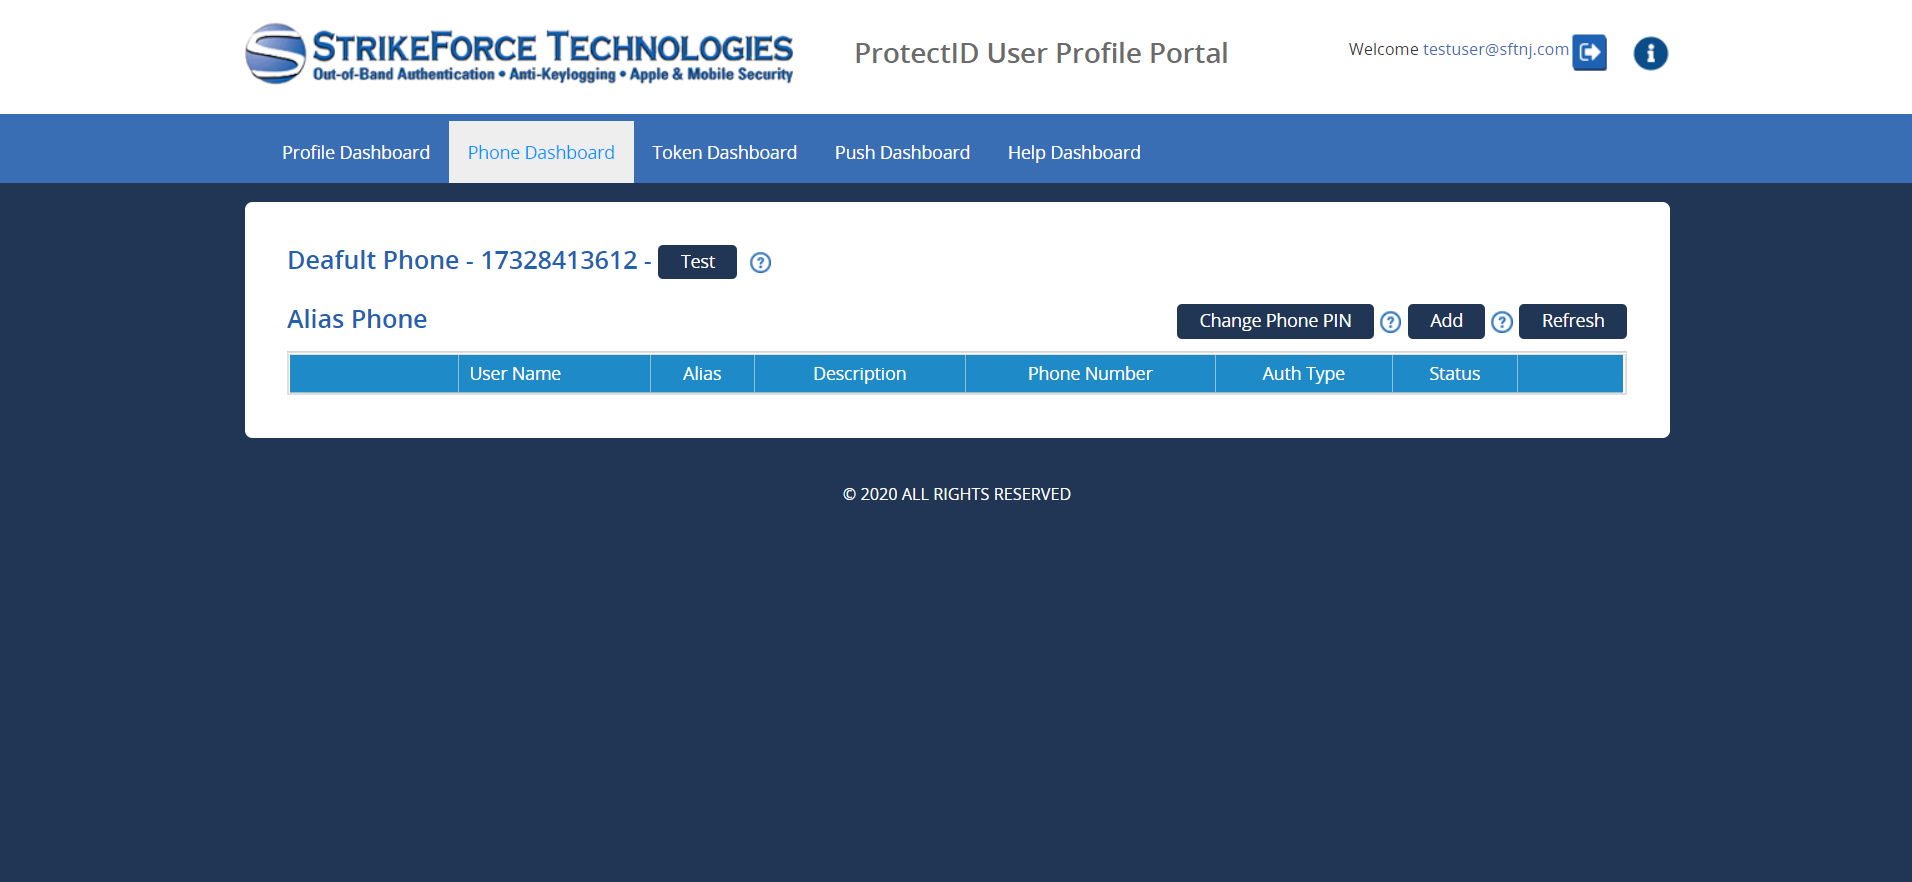
Phone Dashboard
The Phone dashboard allows you to do the following -
- Change your phone PIN - allows you to change your phone PIN

- Test phone authentication
- Add an alias (this feature is not used for SafeVChat)
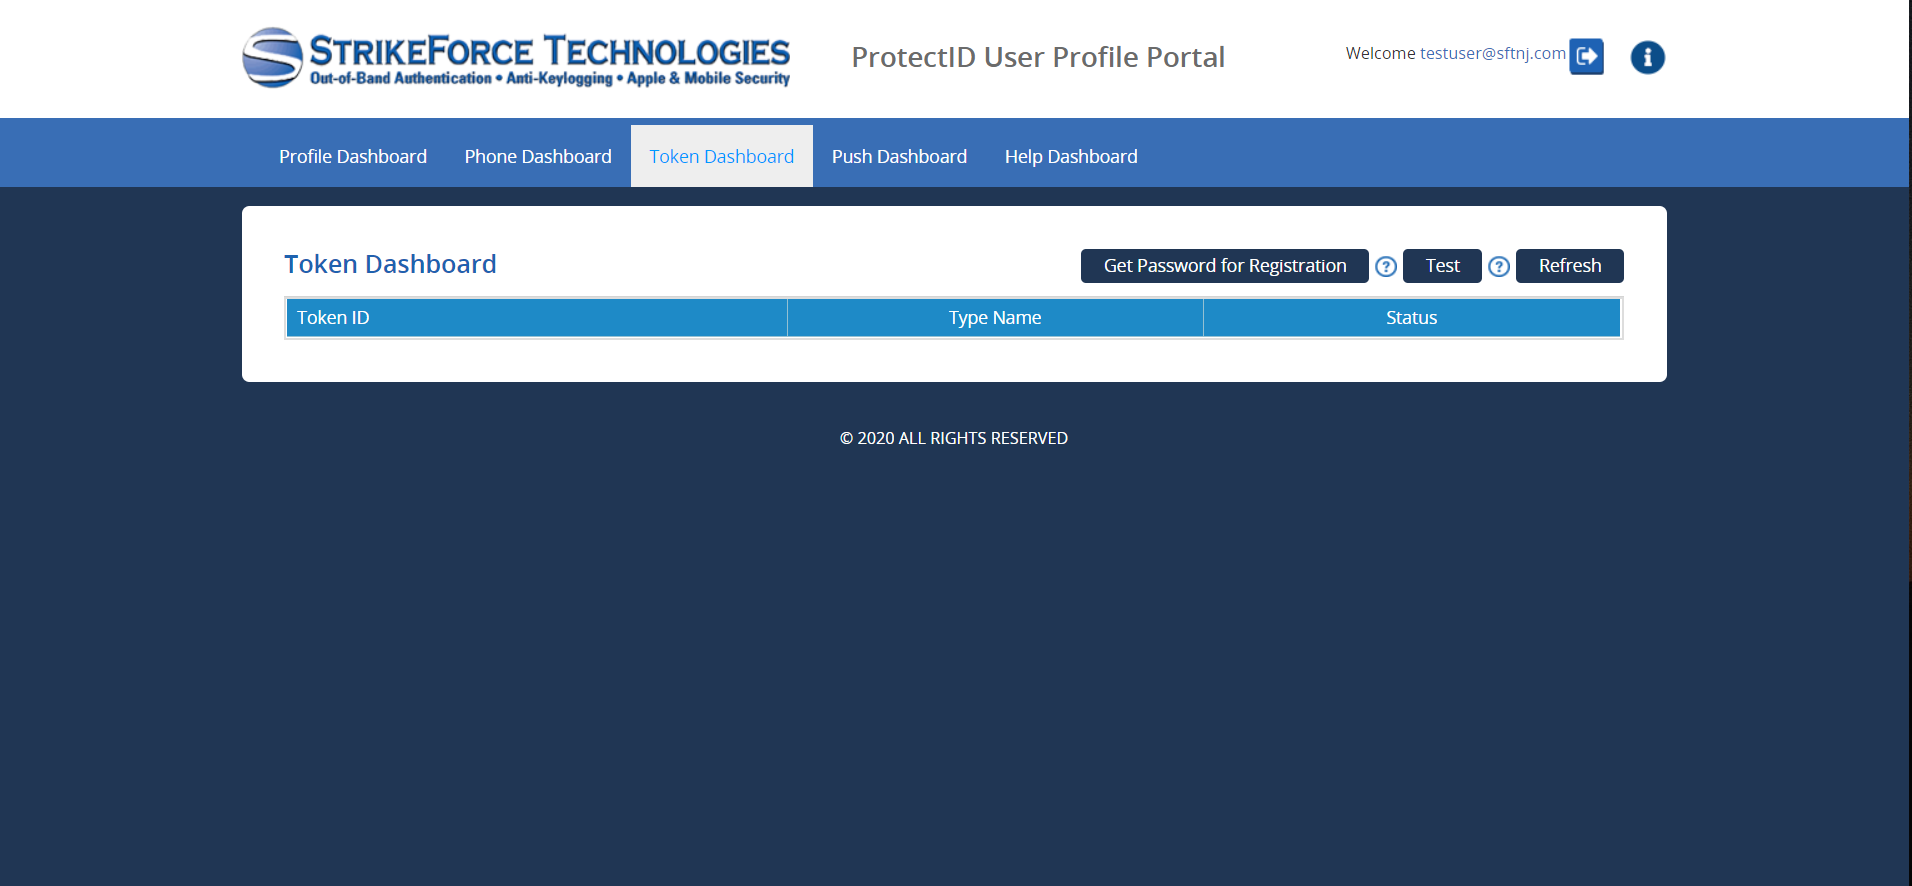
Token Dashboard
The Token dashboard allows you to do the following -
- Get Registration Password - Pressing this button sends you an email which provides instructions on setting up a token generator in the ProtectID app
- Test token authentication - Once you are setup for token authentication, you can test it by pressing this button
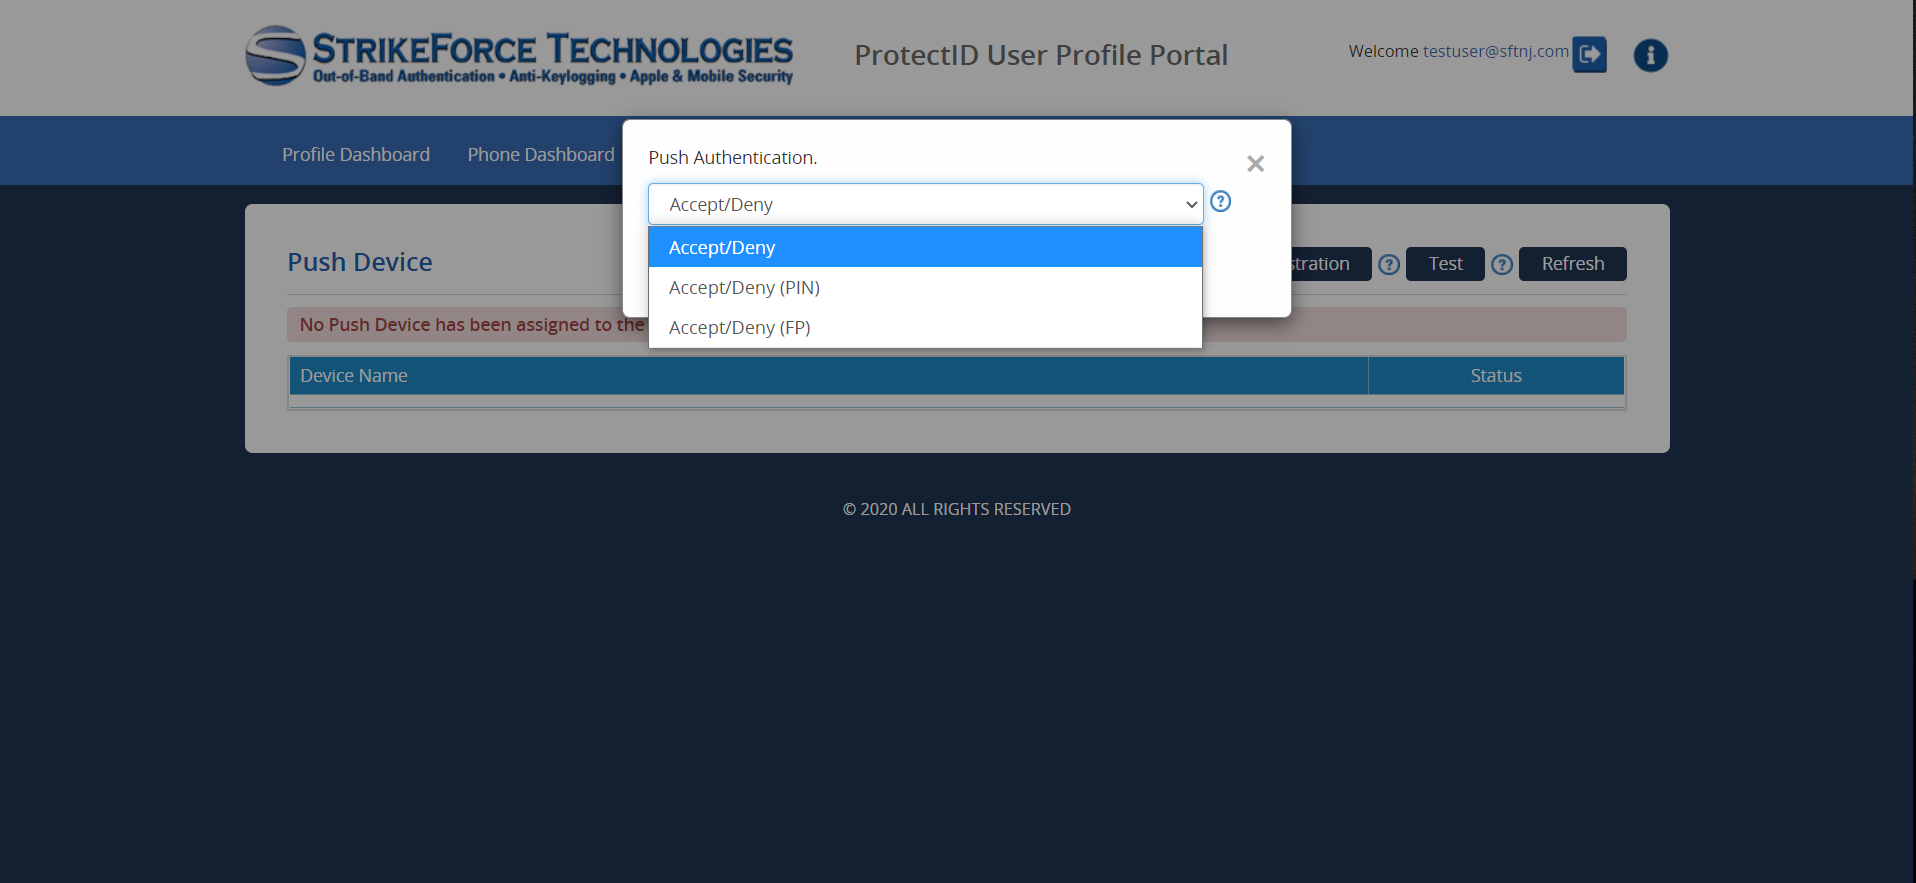
Push Dashboard
The Push dashboard allows you to do the following -
- Get Registration Password - Pressing this button sends you an email which provides instructions on setting up push authentication in the ProtectID app
- Test push authentication - Once you are setup for push authentication, you can test it by pressing this button
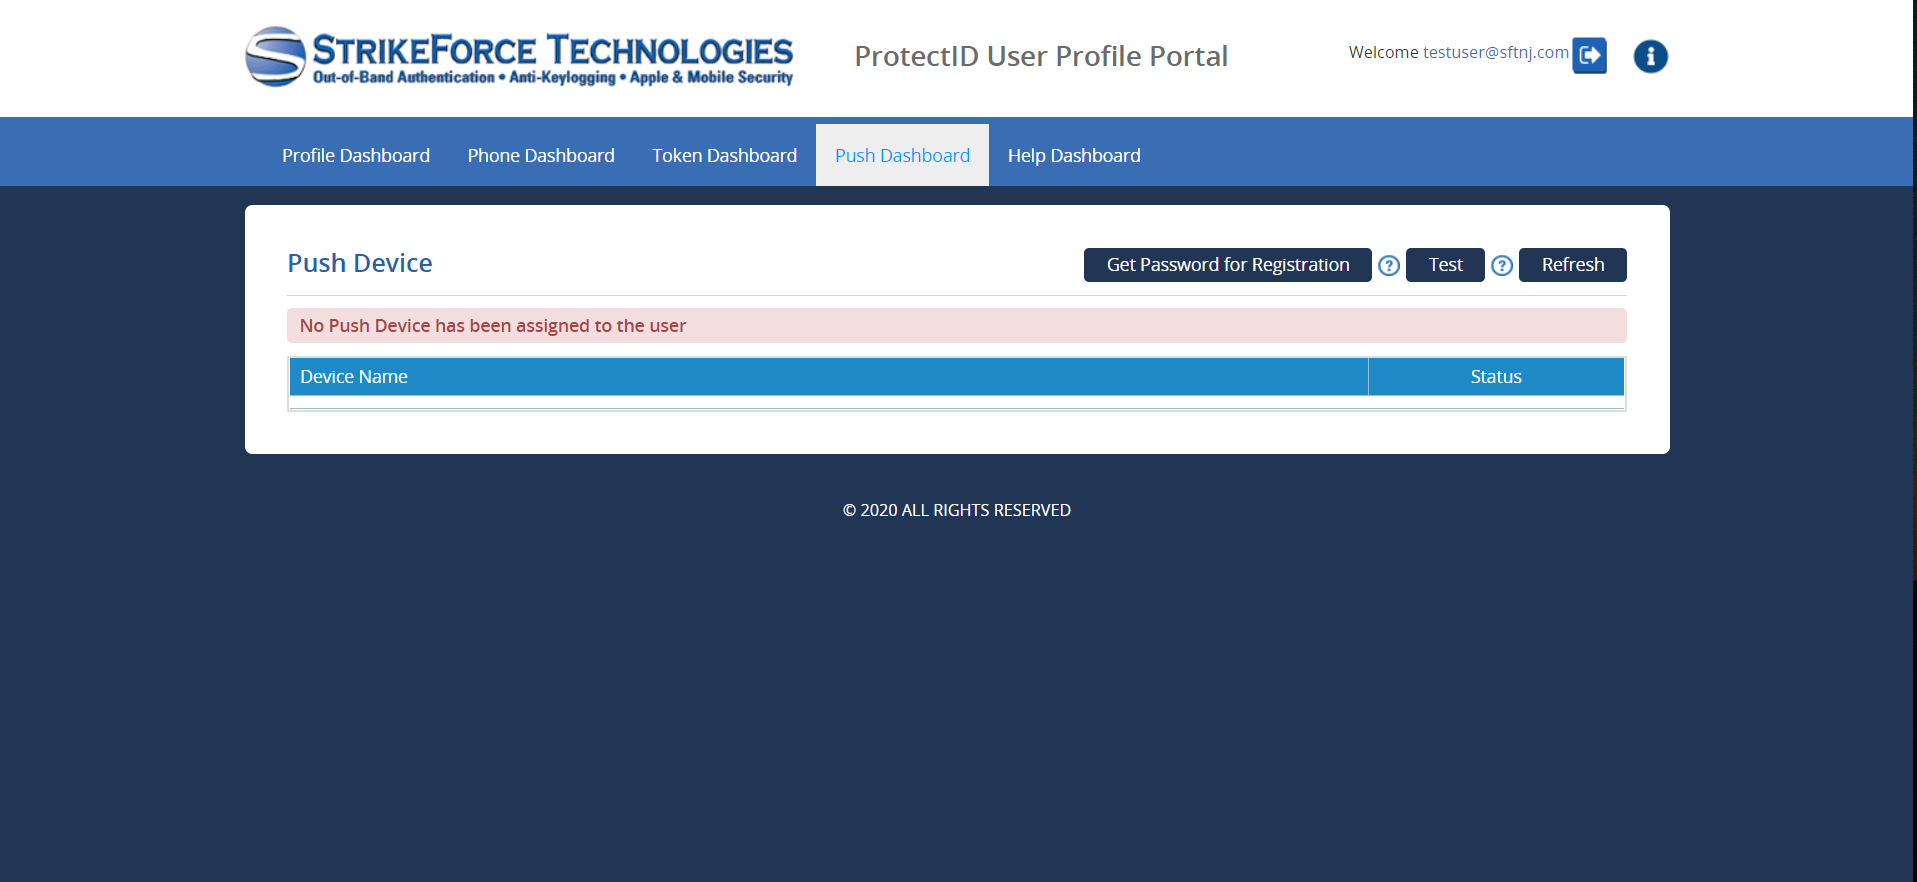
There are three types of push authentication -
- Accept/Deny - In this case a push notification pops up on your phone. Pressing the notification brings up a screen with two buttons: Accept and Deny.
- Accept/Deny (PIN) - In this case a push notification pops up on your phone. Pressing the notification brings up a screen with a text box. Enter your phone PIN in the text box to authenticate.
- Accept/Deny (FP) -In this case a push notification pops up on your phone. Pressing the notification brings up a screen which authenticates you via your phone's finger print authentication system.